Homemade Bird Cages
I Made A Safer Bird Cage
Problems I faced with the Traditional Cage Style
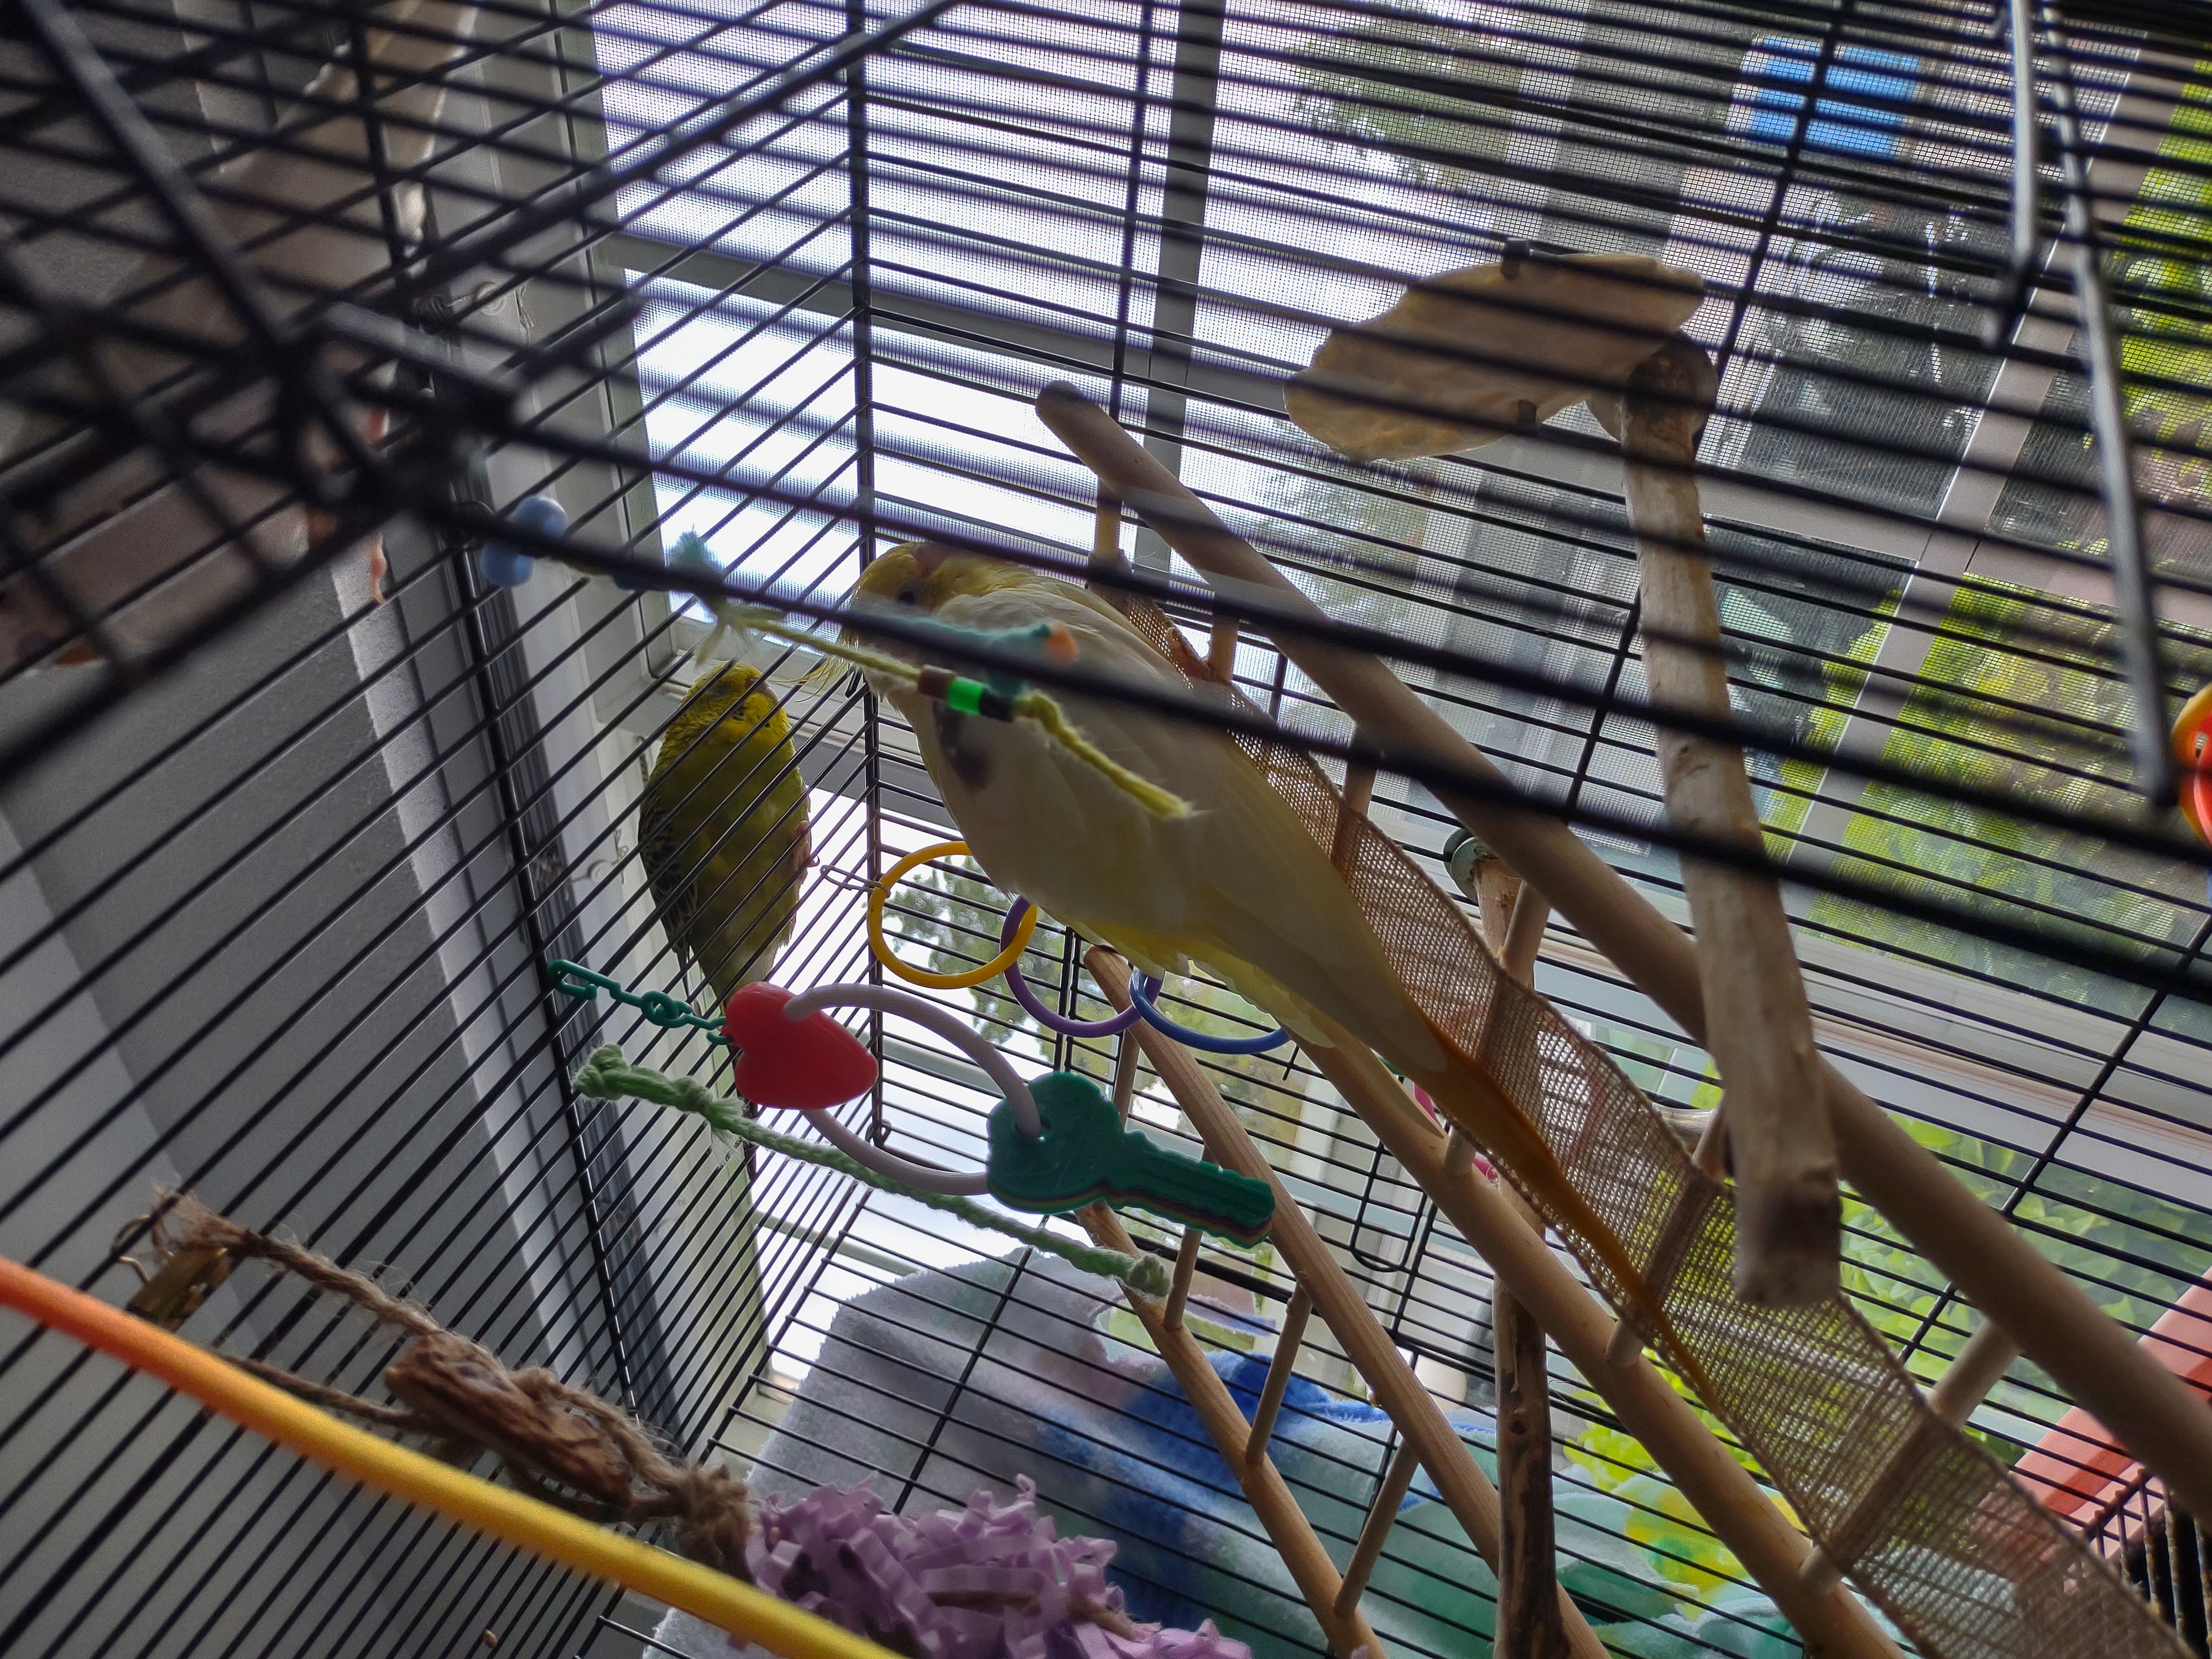
Poor air quality can cause significant respiratory distress to birds, which can be life threatening.
While barred cages offer optimal ventilation, this can expose birds to drafts.
Since my apartment is small, it gets stuffy quickly. I need to ventilate it often, which means my birds are exposed to drafts.
Drafts and sudden changes in temperatures from windows can induce significant stress to the avian species,
and periods of stress can be life threatening to them.
Barred cages just don't offer much of a physical barrier.
Not from air particles, or larger objects, particularly toes and beaks which can fit through the spaces between the bars.
A few of my smaller birds lost toes on multiple occasions from the beak of one of my more aggressive species, despite them being separated by the bars.
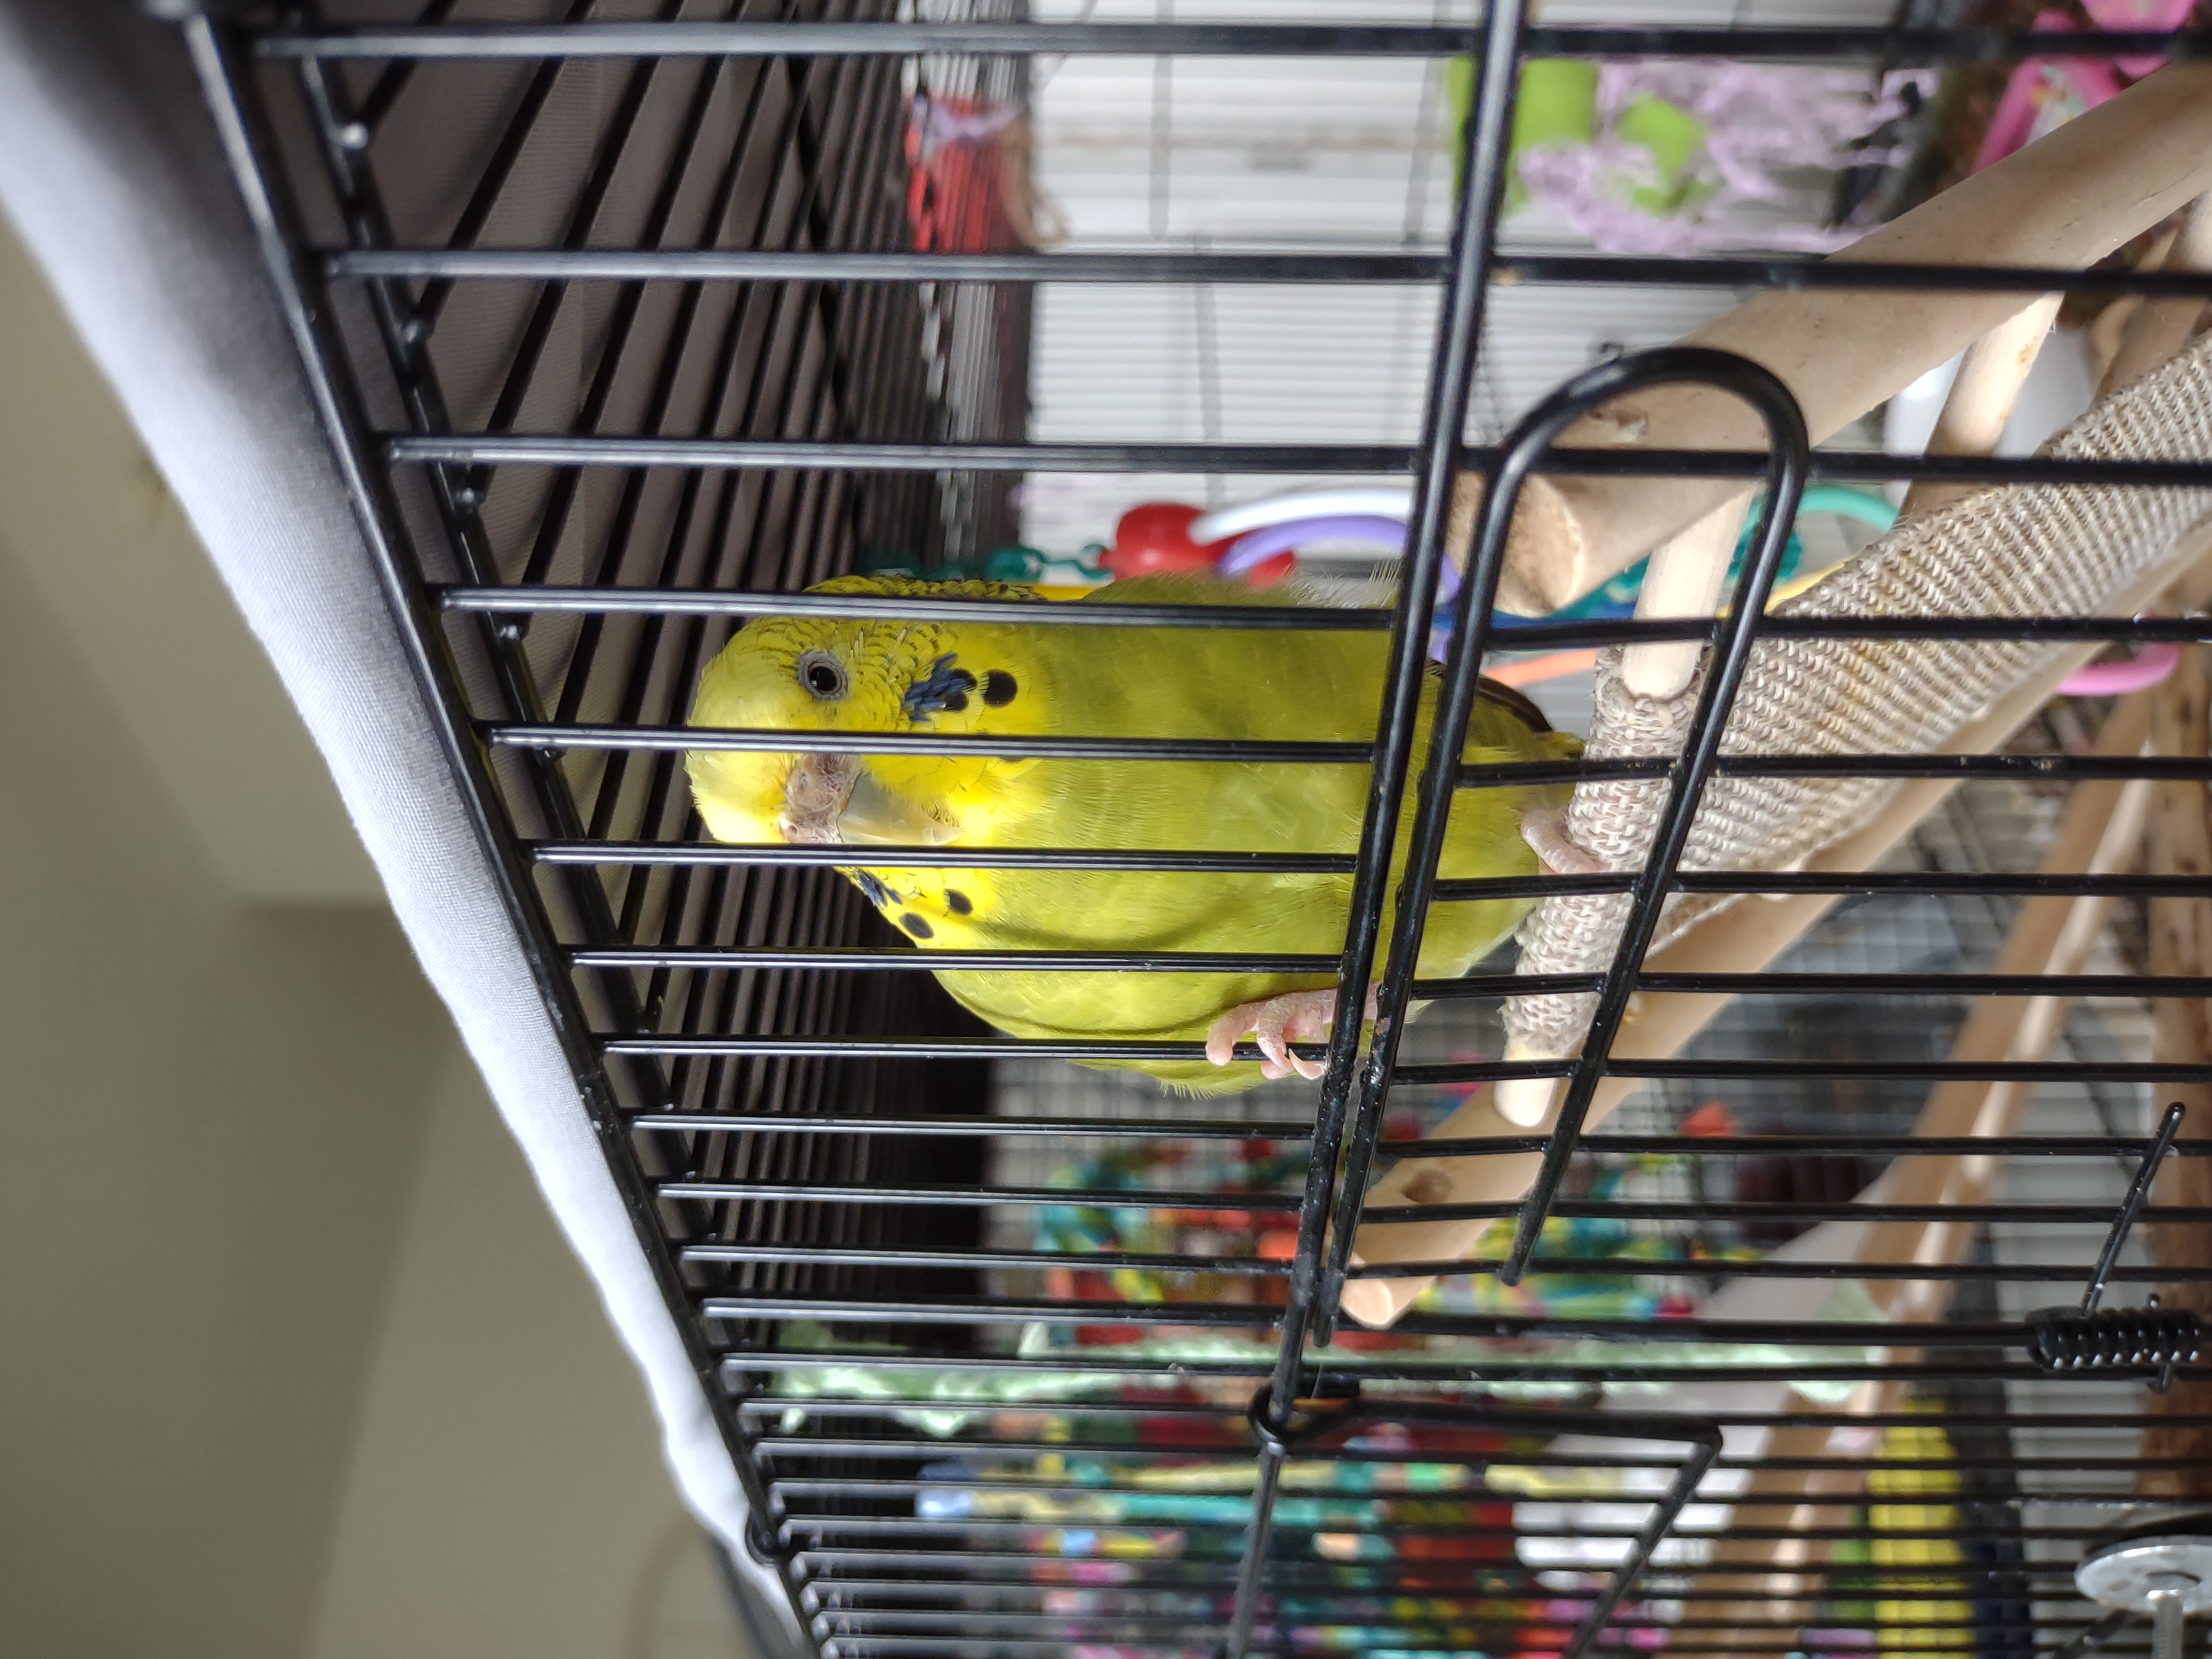
My birds need daily exercise.
And when they do come out and about, they like to sit atop and climb around the outside of the cages.
Since I cannot let all of my birds out at once, this has been proven as dangerous to
curiously climbing toes by the bird which jealously sits inside.
I tried covering the cages with fabric, but I was faced with a shredding issue which is a danger to the birds.
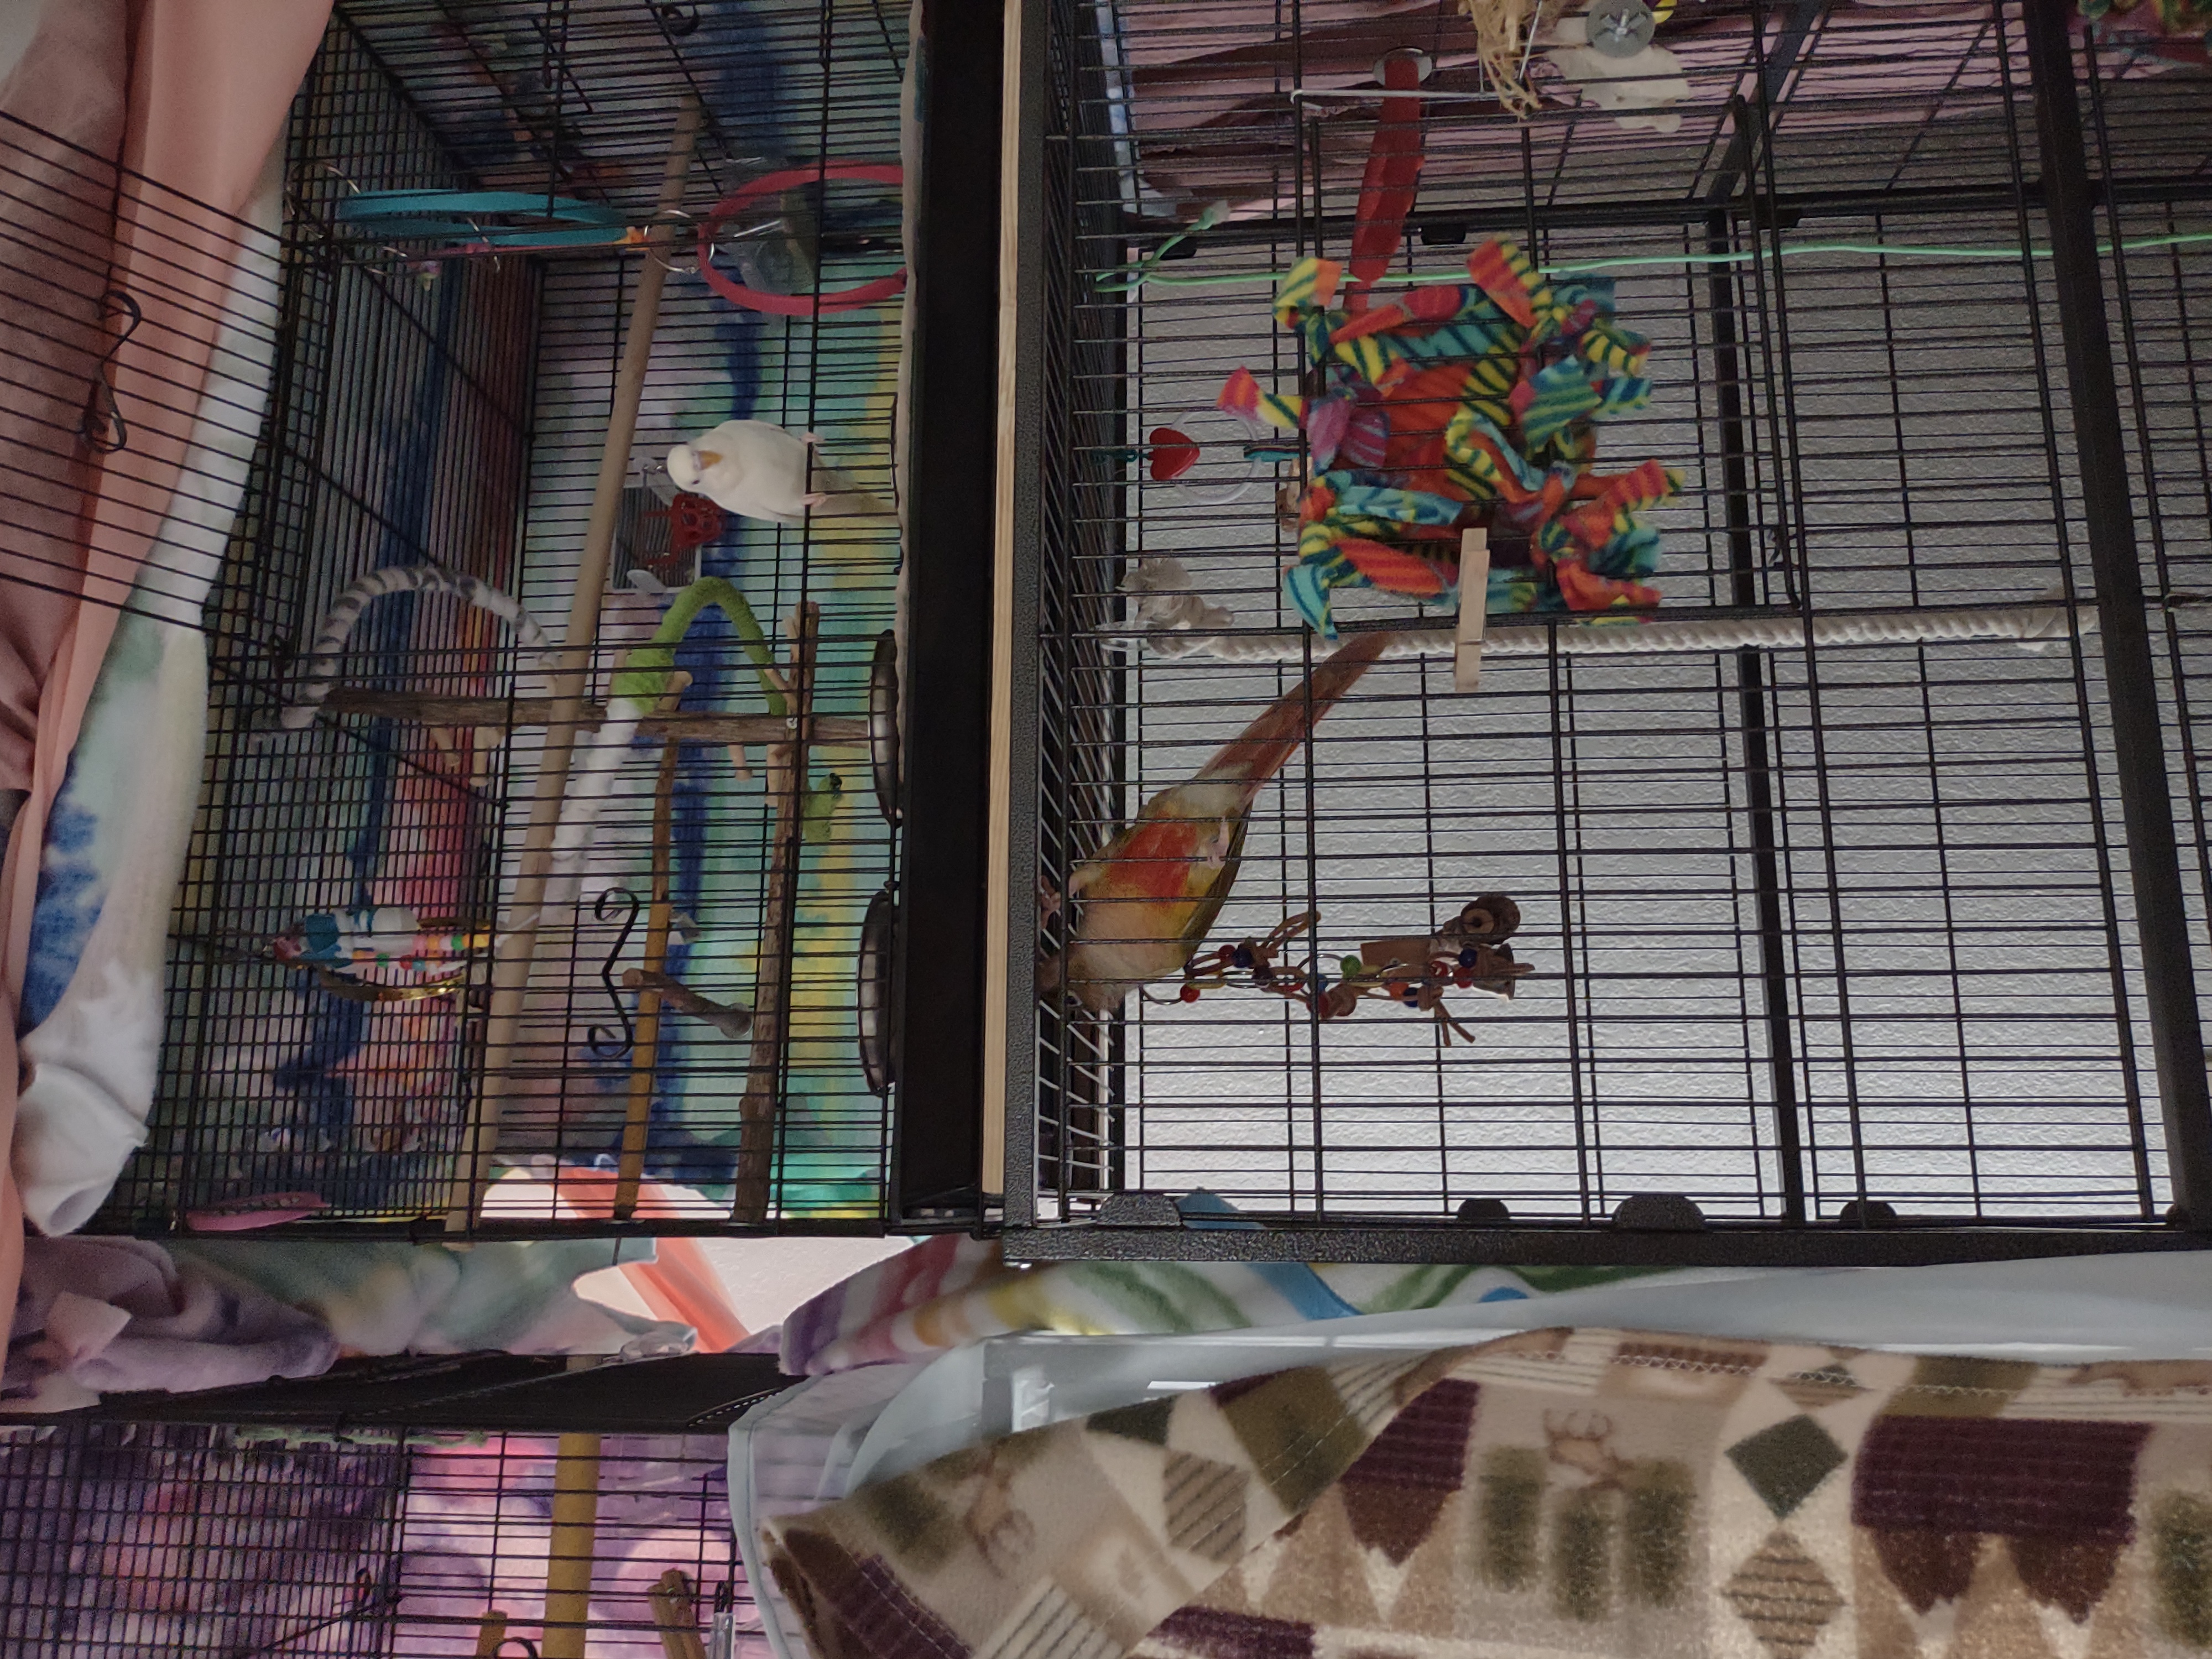
I thought to cover with a plastic covering or a low-shred fleece, but this route had ventilation issues of which I could not design around.
The temporary solutions weren't working.
I needed a way to for my uncaged birds to be protected from the caged birds, and vice versa,
without some temporary hack.
An acrylic enclosure would grant all the necessary protection I was looking for on behalf of my birds' safety.
But, acrylic cages are very expensive;
approximately 6 times the cost of barred cages per square foot
of enclosed space if purchased ready-to-use or out-of-the-box.
I Start Designing!
Requirements:
1. Adequate ventilation
2. Easily cleanable
3. Desirable for the birds
4. Protection barrier from penatrable
objects and drafts (walls and ceiling)
Dimension Requirements:
Budgie: 24' x 24'
Cockatiel: 24' x 18'
Quaker: 24' x 24'
Conure: 20' x 20'
My designs are inspired by my need, and are original and improvised.
I Start Building!
I sourced my acrylic sheets from my local
TAP Plastics.
They were able to supply me with custom size sheets,
of which I chose 22' by 24'.
Tap Plastics was able to router out the square hole for my door assembly.
The edges were sharp, so I used a butane torch to smooth and shine the edges.
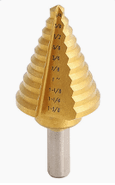
I got this special drill bit to drill holes in the acrylic sheets
for the bracket assembly, as well as the holes for mounting items in the enclosures.
I had originally used the traditional cylindrical drill bits which are specifically made for wood.
This was working fine for the smaller holes for the door assembly.
But, when I sized up for creating holes for mounting the brackets,
perches and food dishes,
the bit was chipping and cracking the acrylic.
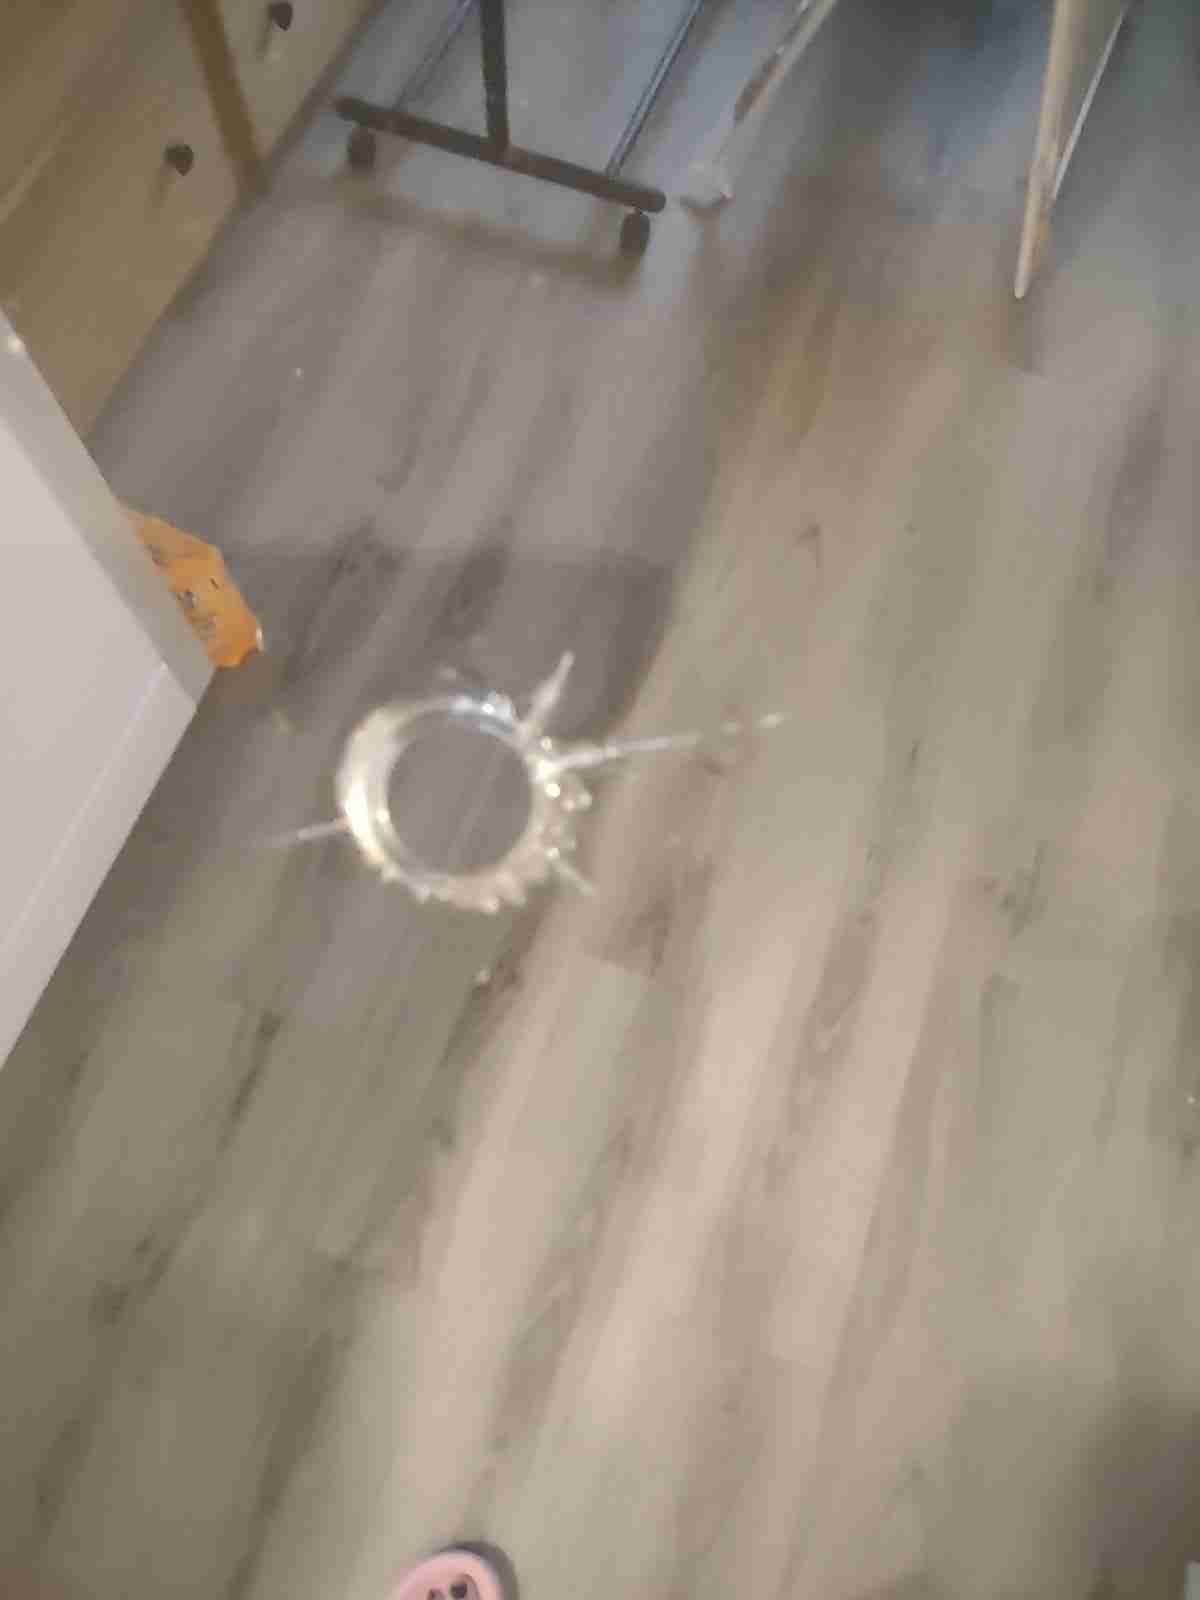
I used a butane torch to heat the fractured hole post-drill in my
best effort to prevent the stress fractures from spreading over time and use.
This style of bit reduces fractures in the acrylic.
I used a butane torch to heat the holes post-drill to seal any minor chipping.
I got assistance with printing the brackets.
The 3-D printer used for my project belongs to Stephen.
He loaded the filament and processed the printing.
He used FreeCAD Software.
He showed me the process it took to translate my bracket design into a CAD drawing
so that it could be read as a set of instructions by the 3-D printer.
Once the print was complete, I got to clean the prints
(remove excess stabilizing filament).
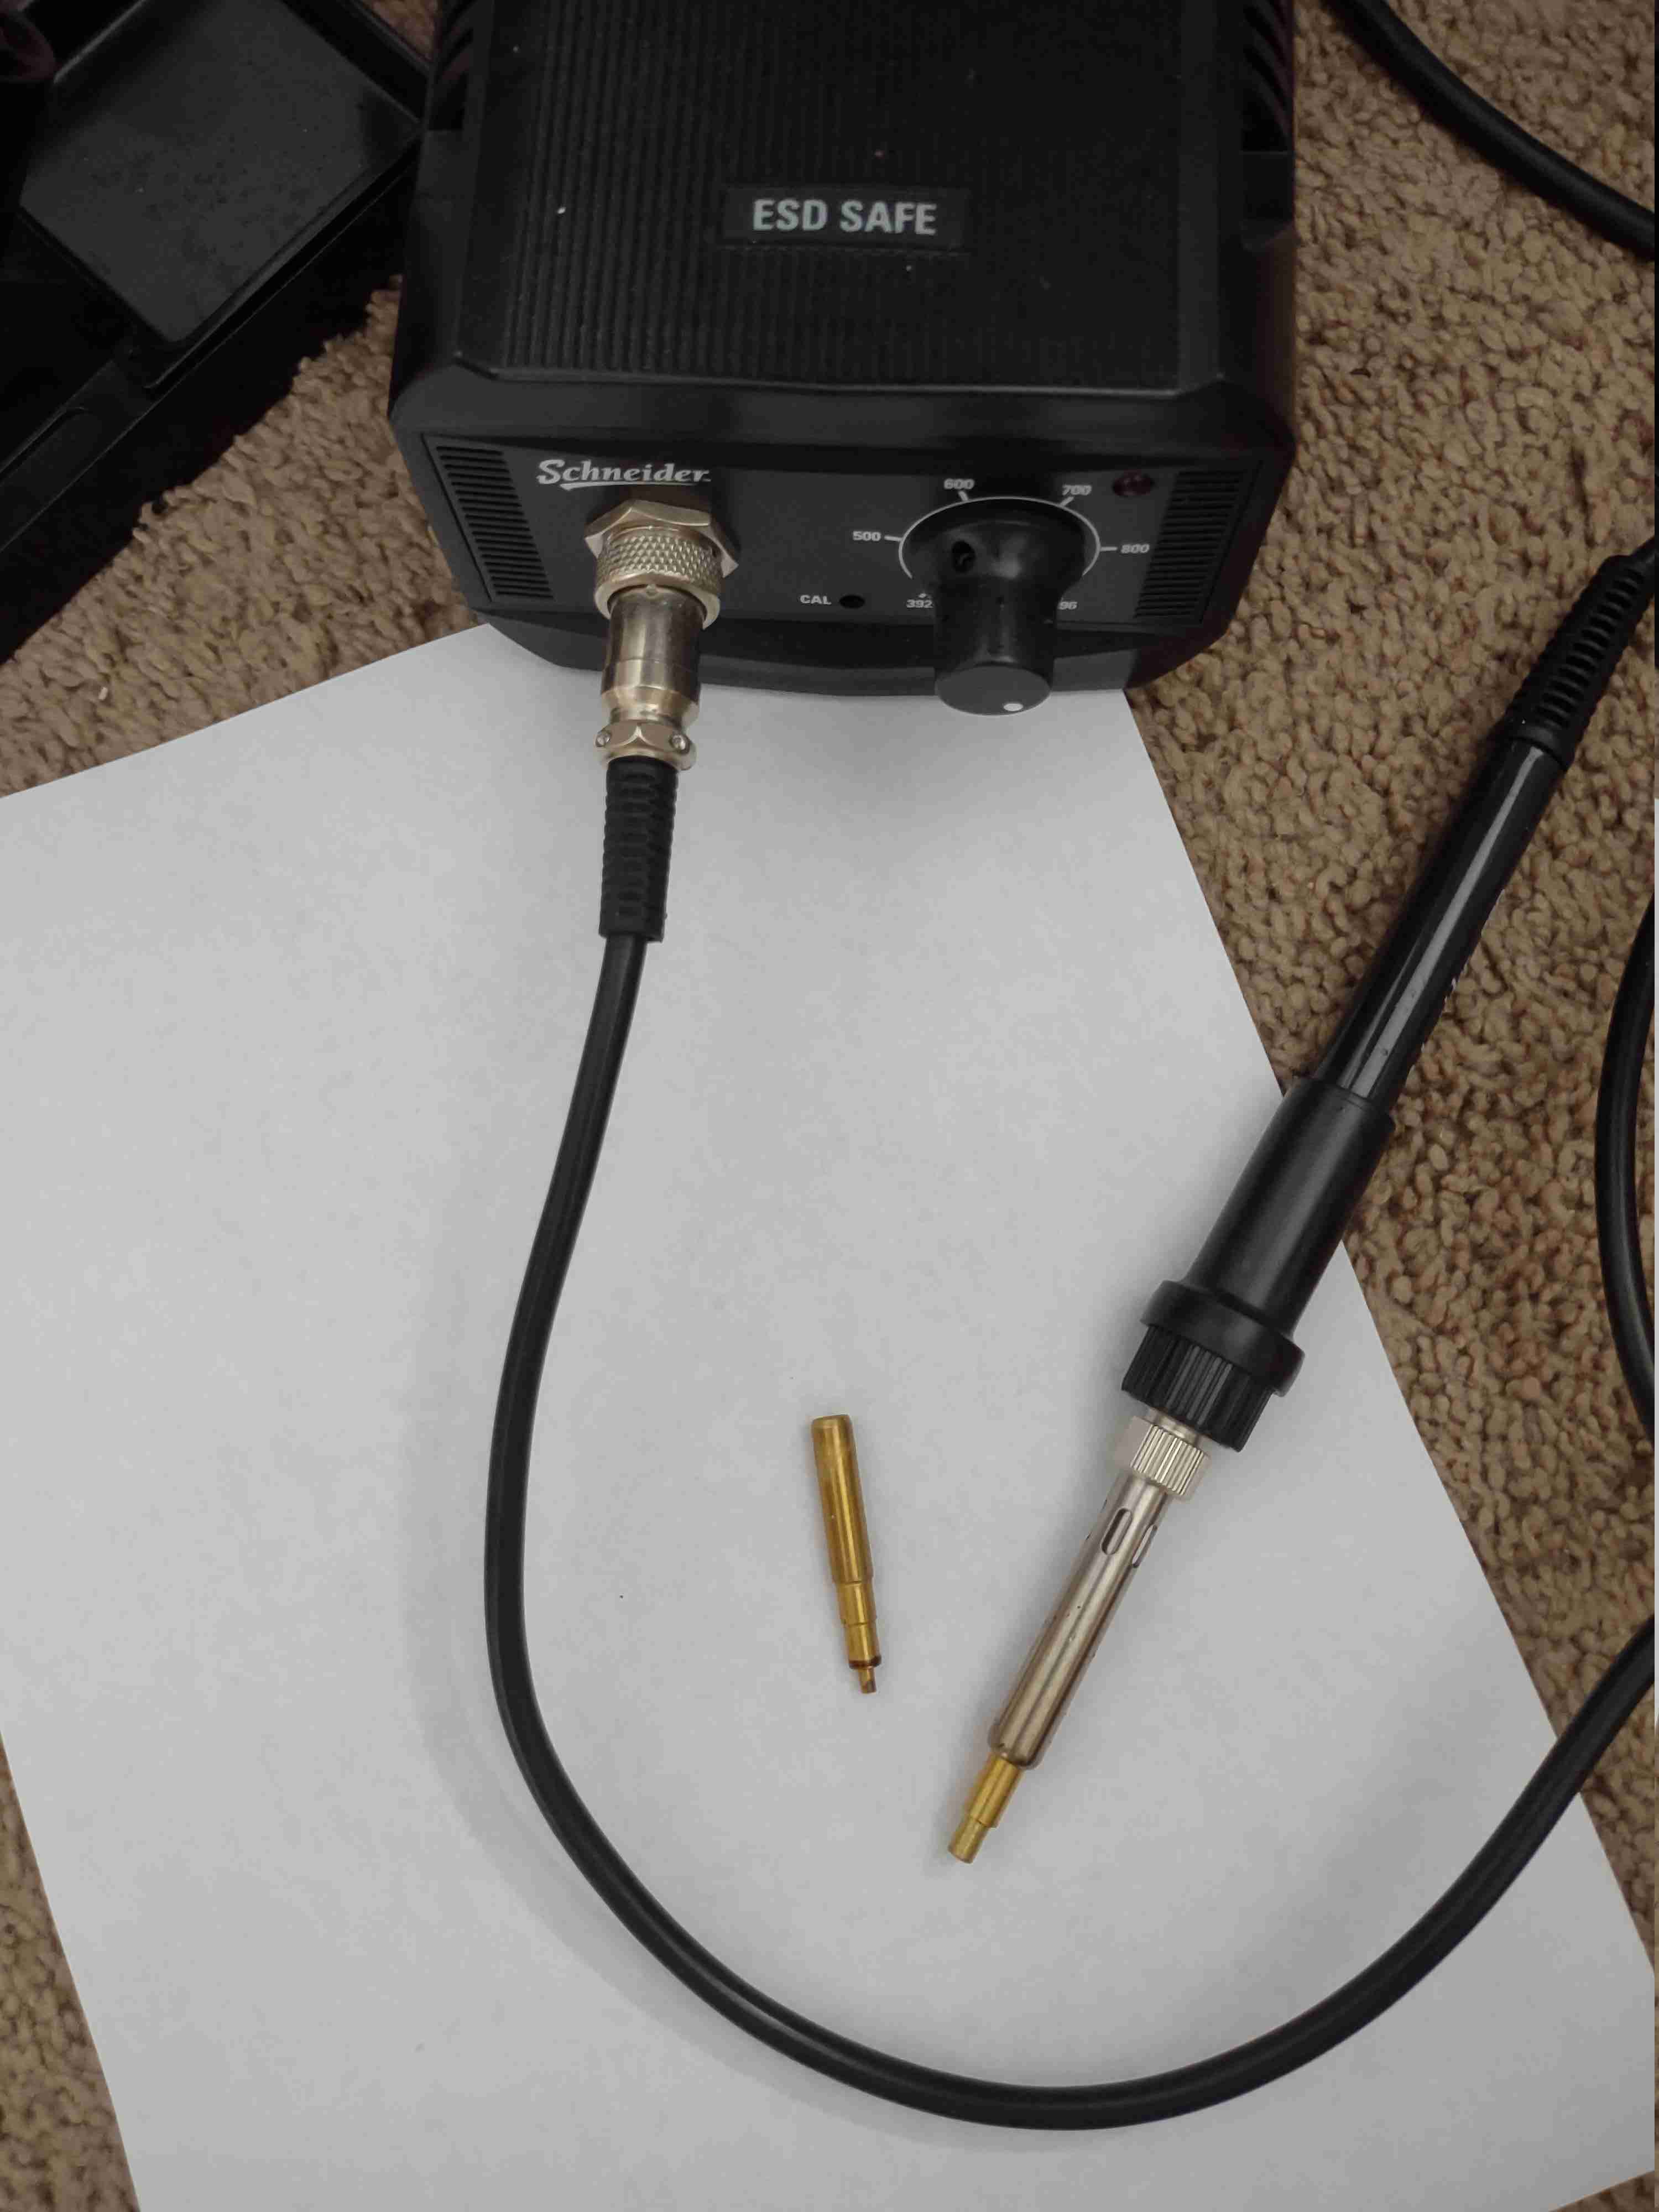
I used this heating element to inset the hardware to 3-D printed brackets.
I used the larger tip for insetting the hardware into the brackets.
I used the smaller tip for insetting the hardware into the hoor handle and door hinge 3D prints.


My husband was finally seeing the design once it came to life and became excited by that. I had plans for the door latch and hinge. But, Stephen ended up proposing his own designs. It was my pleasure to let them be implemented, as I was trhilled that he finally became excited about the enclosures. Plus, I thought his idea was more creative and beautiful. All I asked of his design was that it be scaled down to a smaller size that I would be comfortable handling each day. His designs (with my size input) is implemented here.
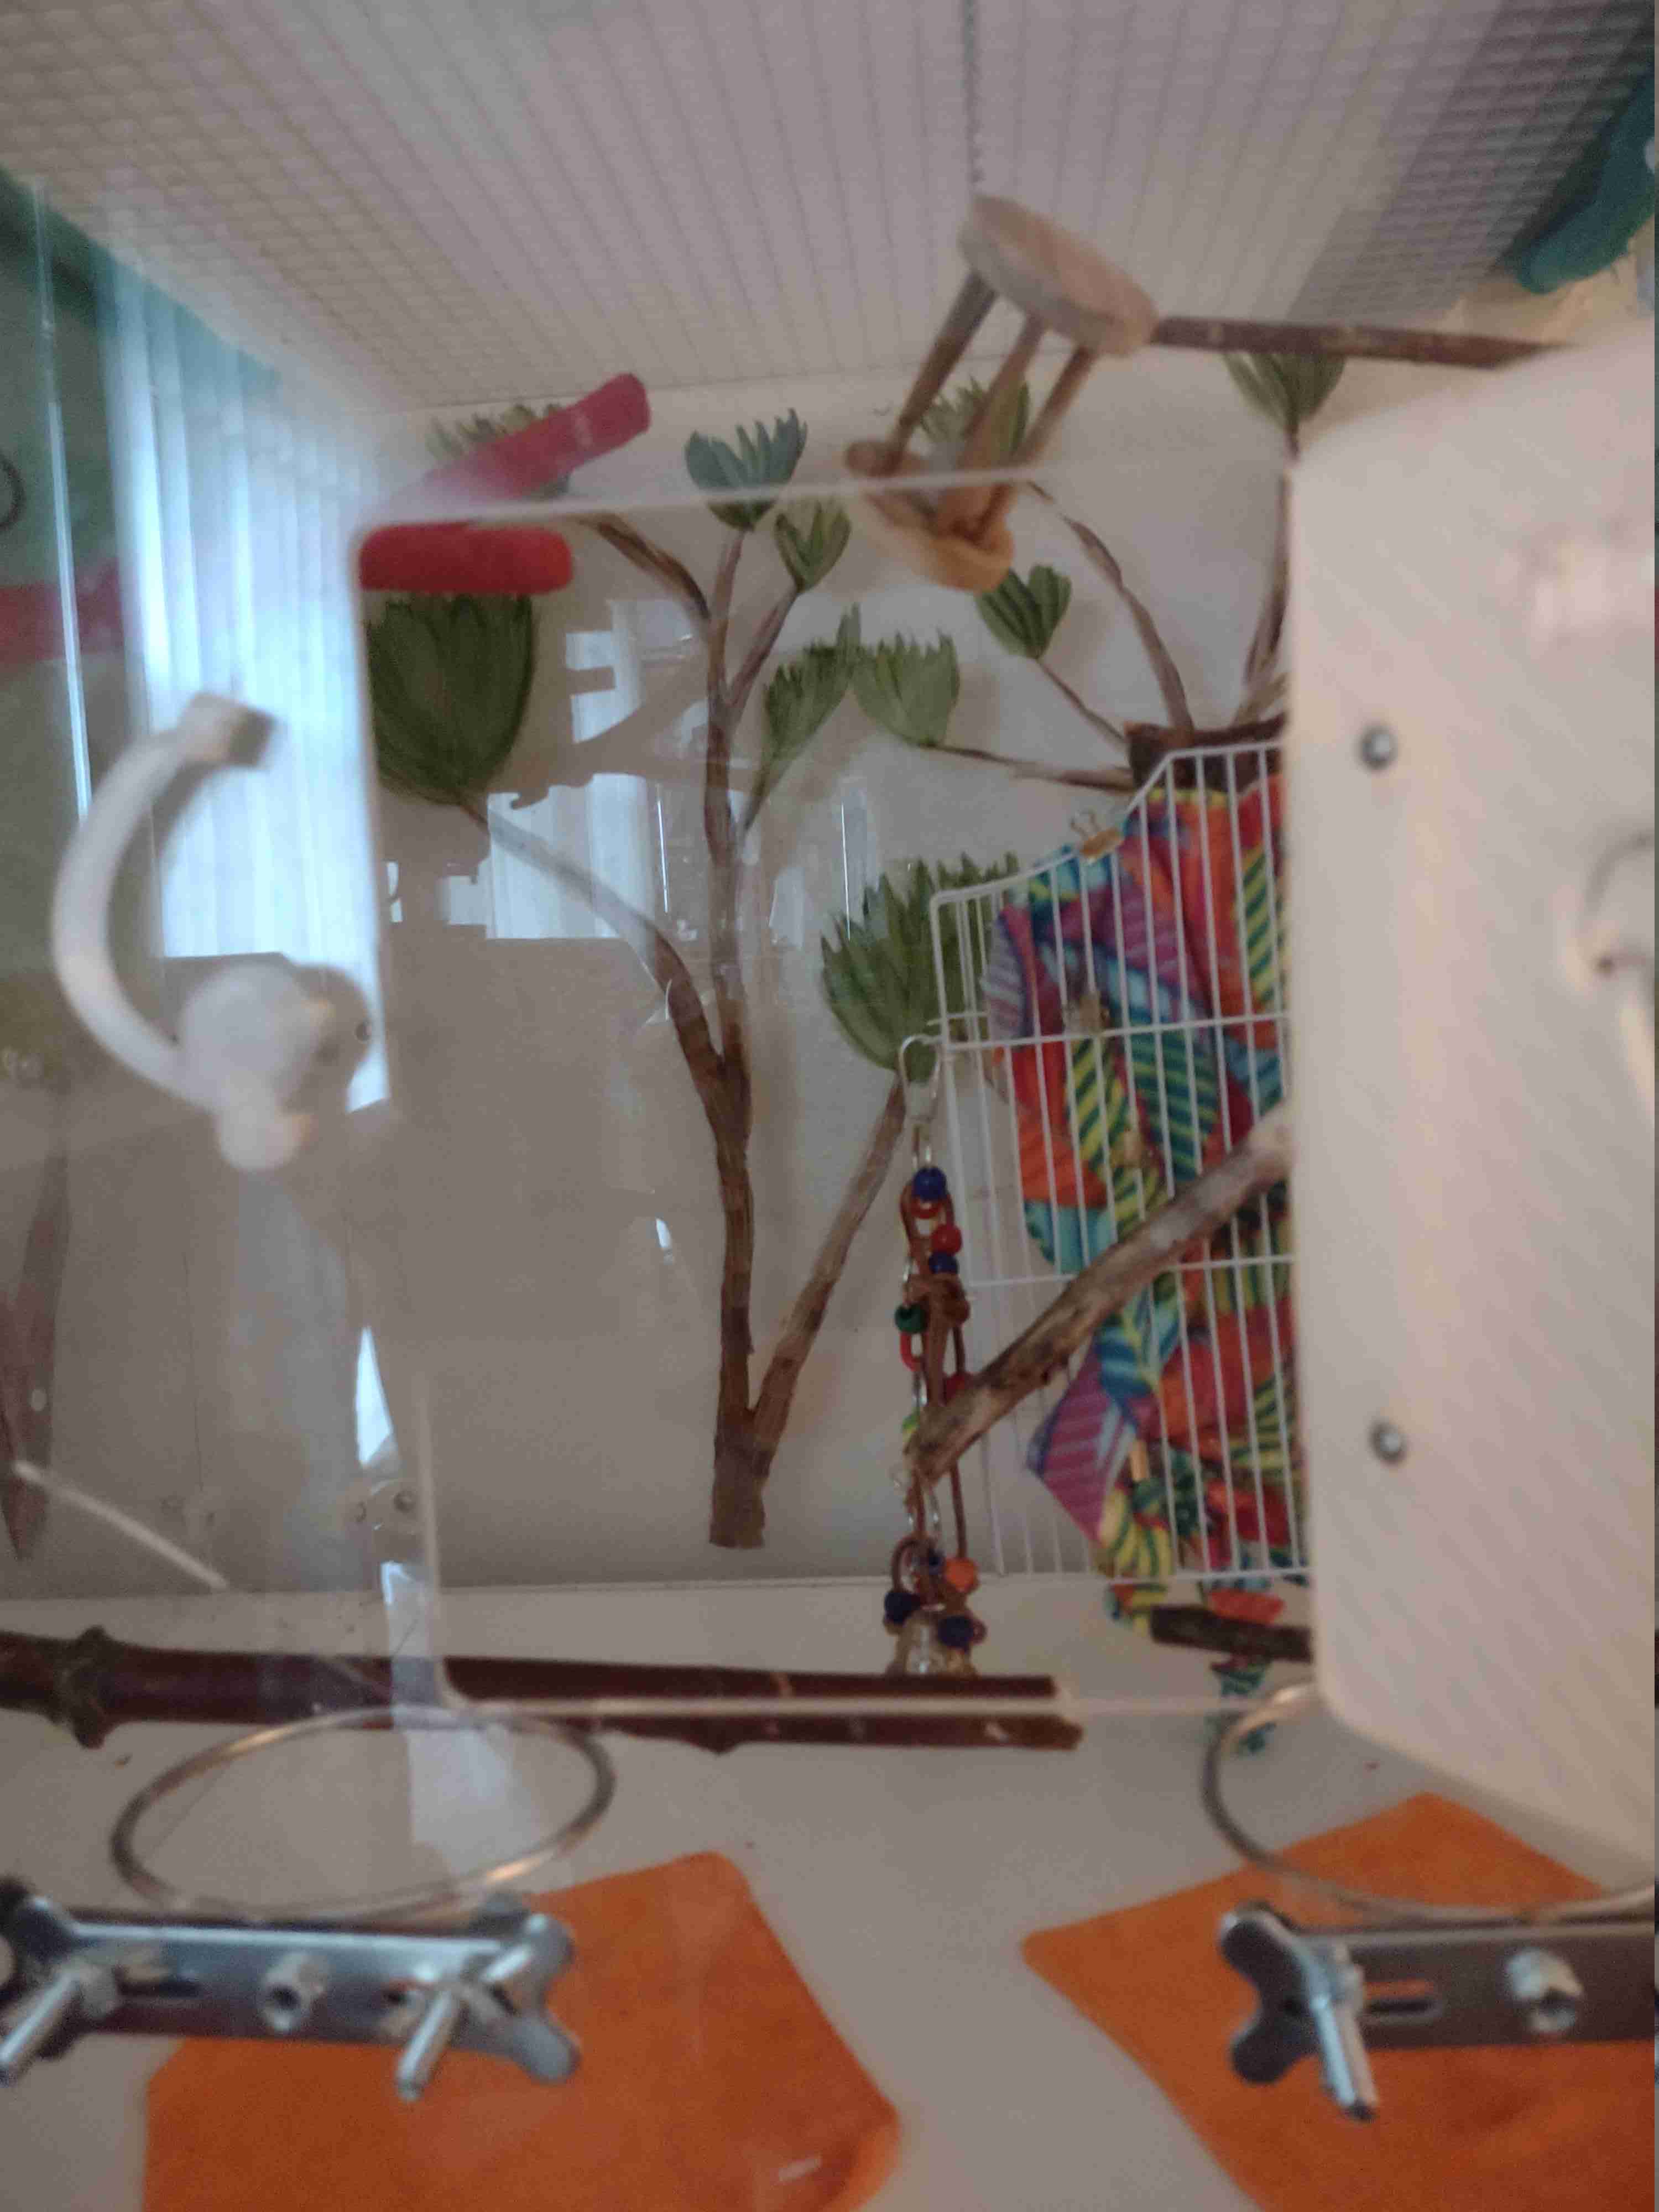
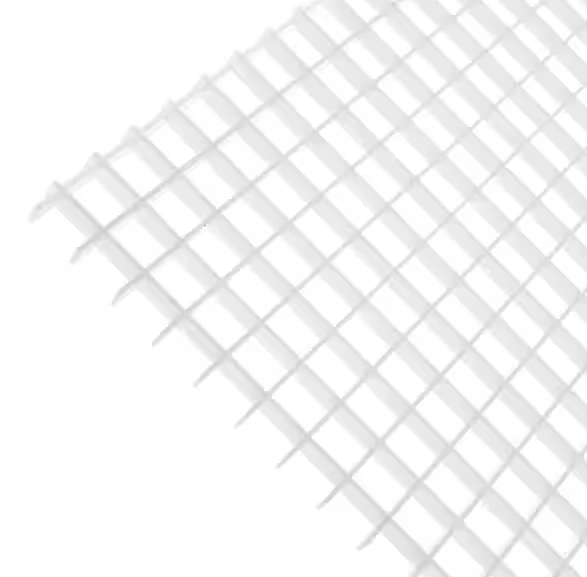
For the ceiling, I used eggcrate,
as it was available at my local Home Depot,
is sturdy, offers adequate ventilation,
continues to permit my birds to hang upside down, and has a
thickness which offers a safe physical barrier from curious toes and beaks.
My conure has two doubled up,
since he is the biter, likes to hang upside down,
and my other birds frequently sit atop of his cage when they are free.
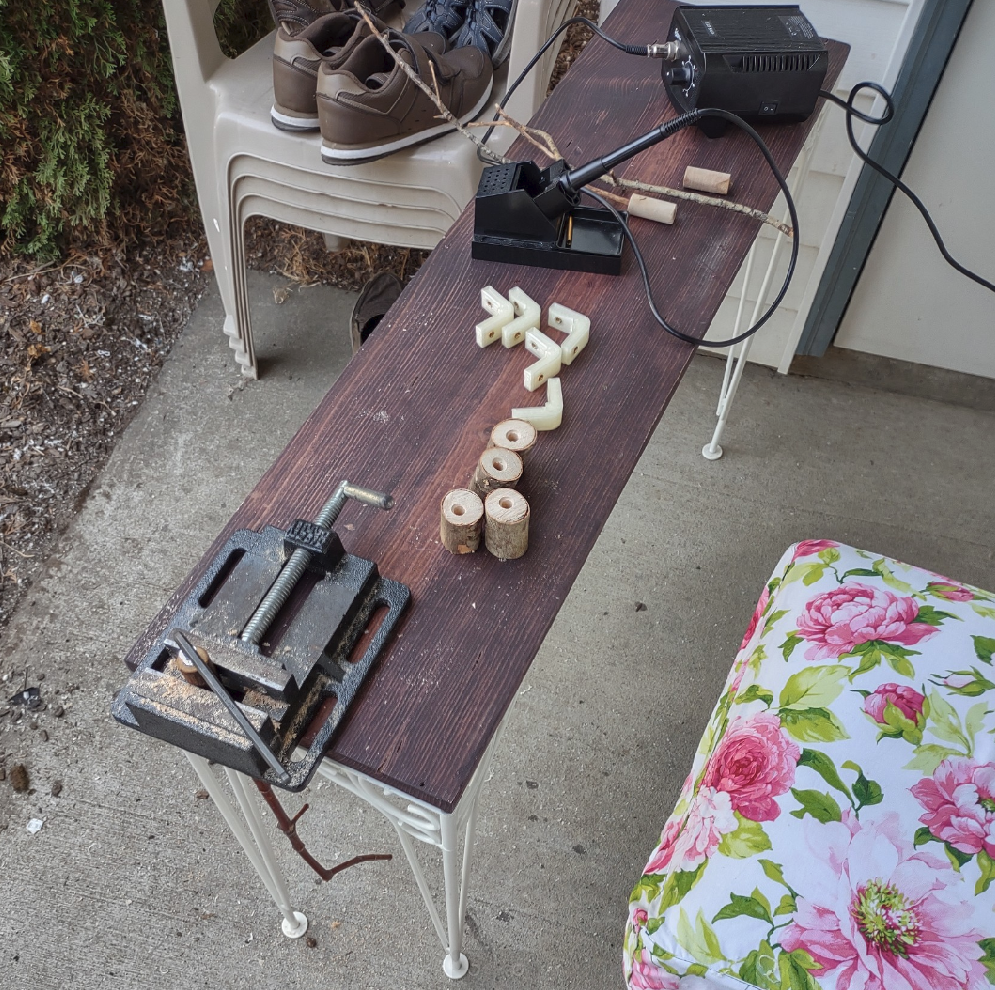
I sourced some branches for free where I knew pesticides were not sprayed. I washed them with soap and water, then baked them in the oven at 165 degrees Farenheight for one hour to serve as an autoclave and disinfect the wood.
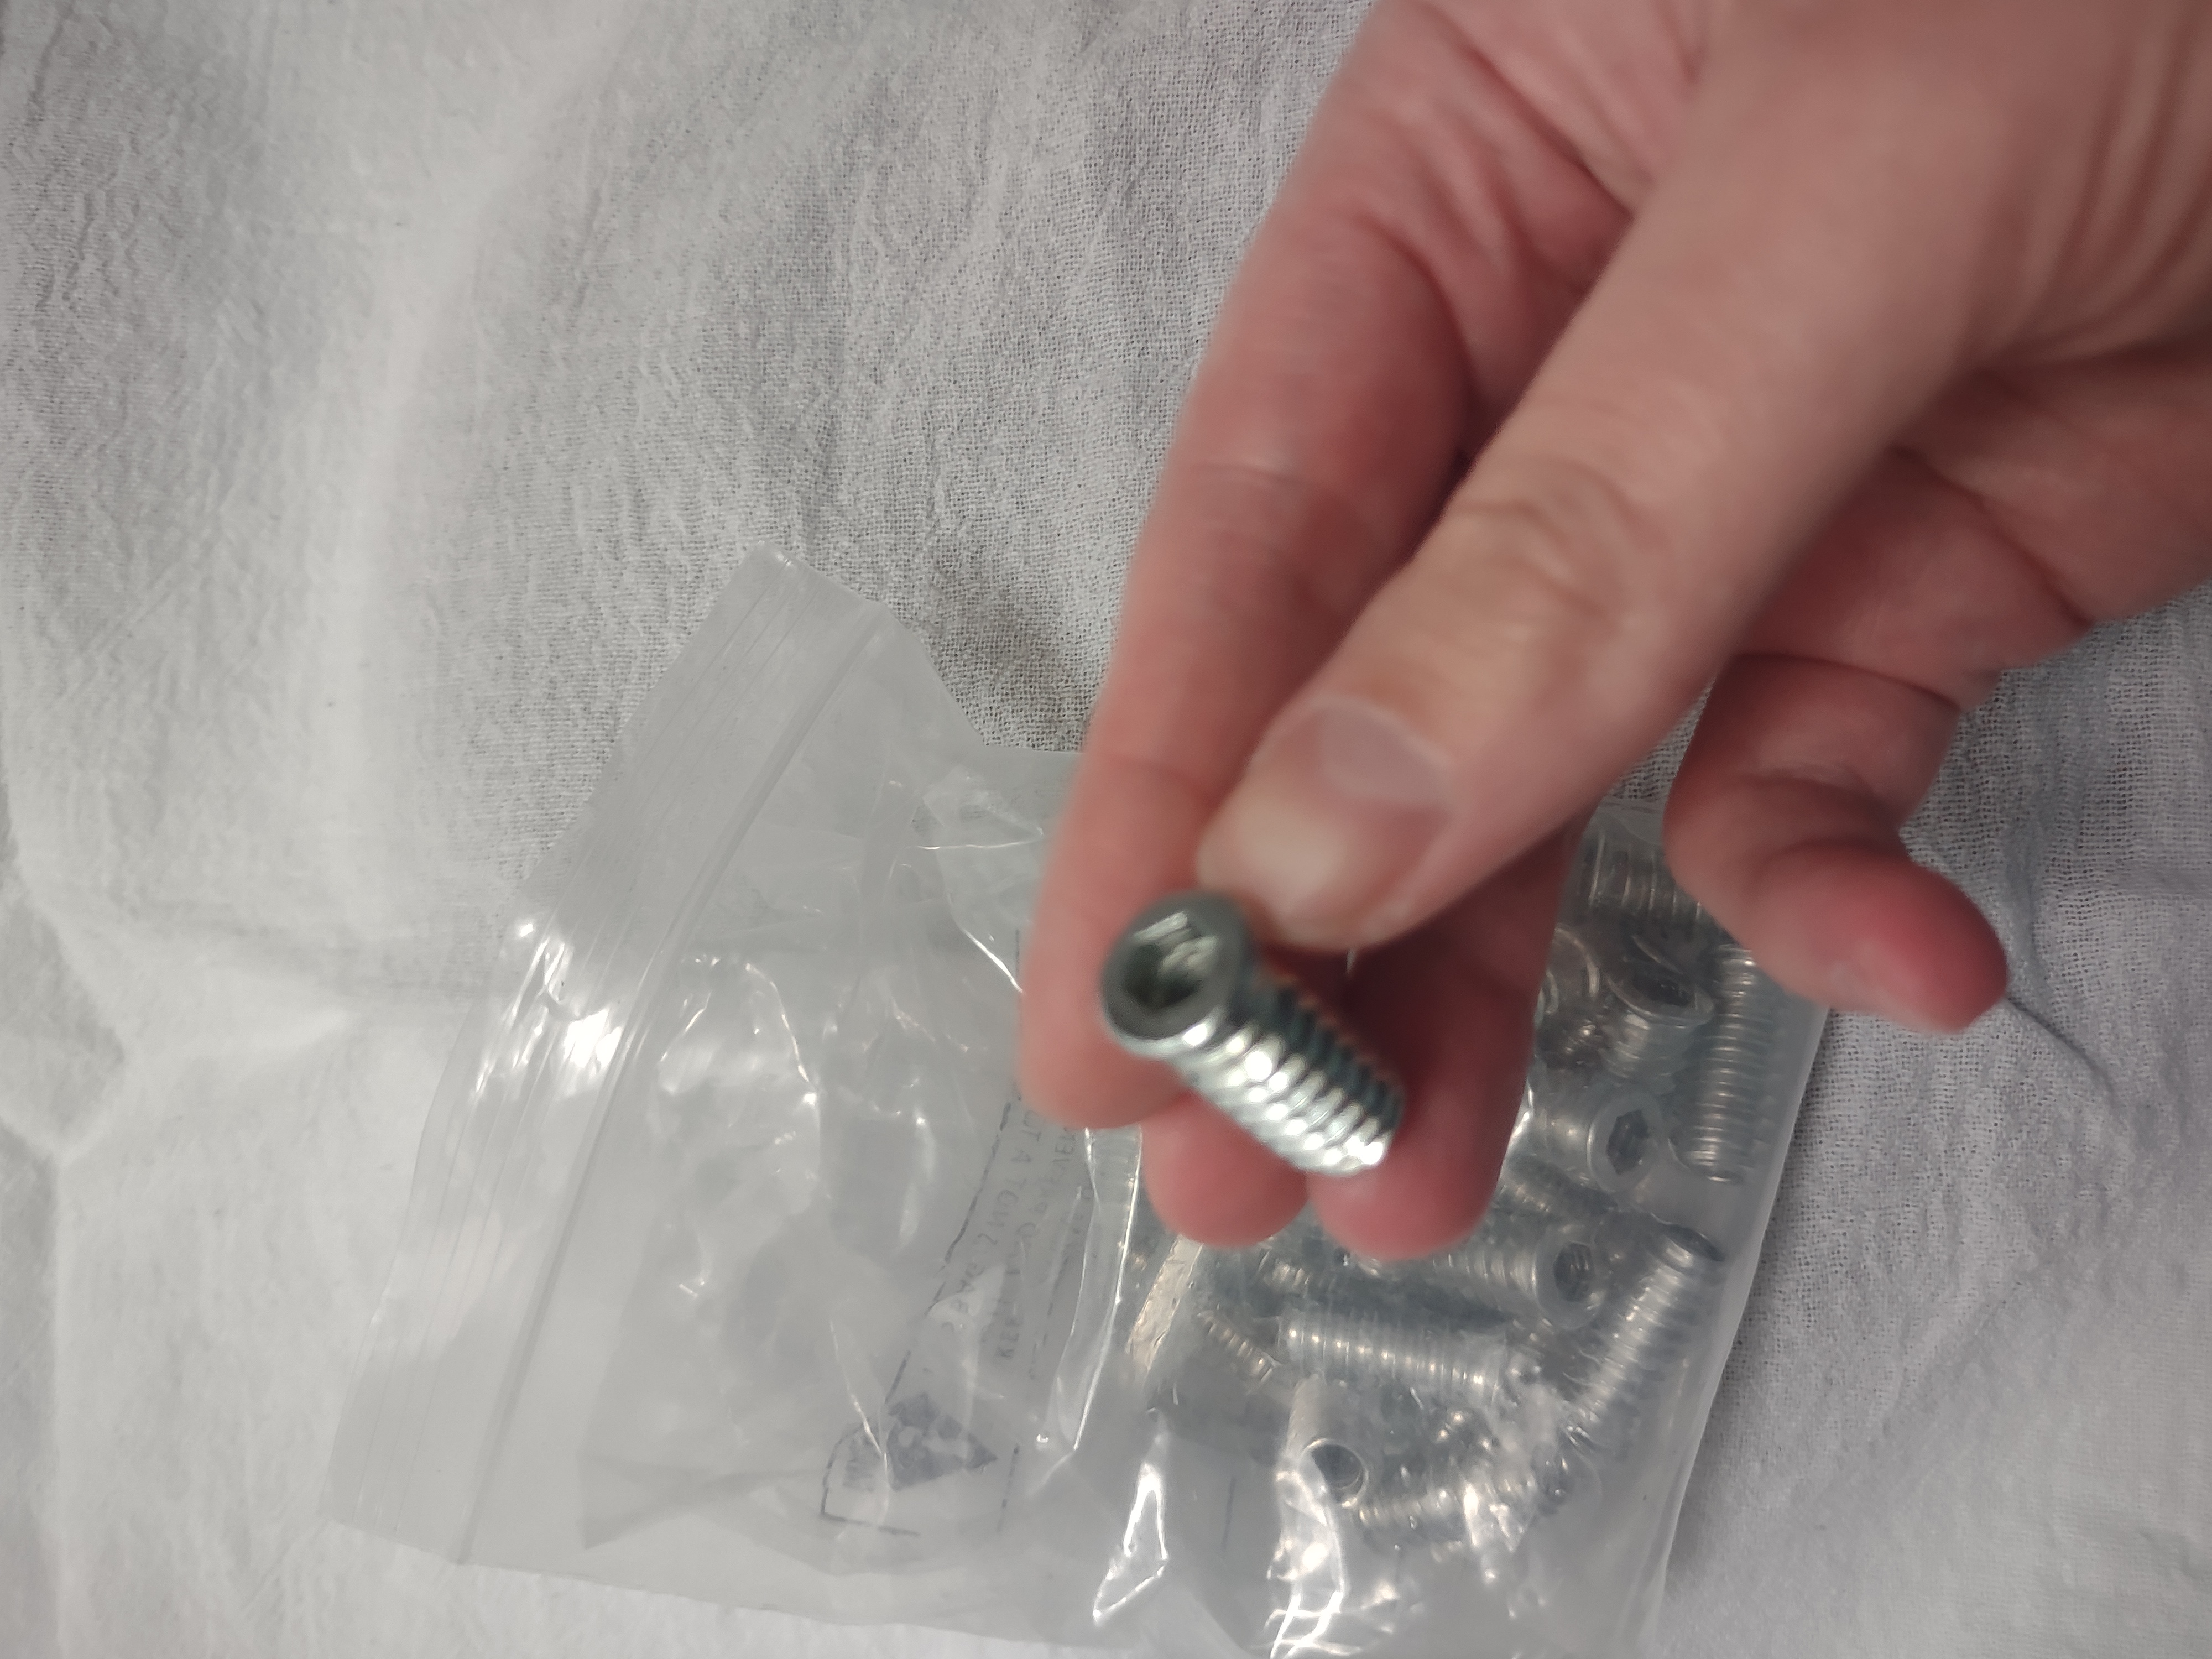
I used an allen wrench to twist these into my wooden perch as their hardware for attaching them to the cages with a washer and bolt.
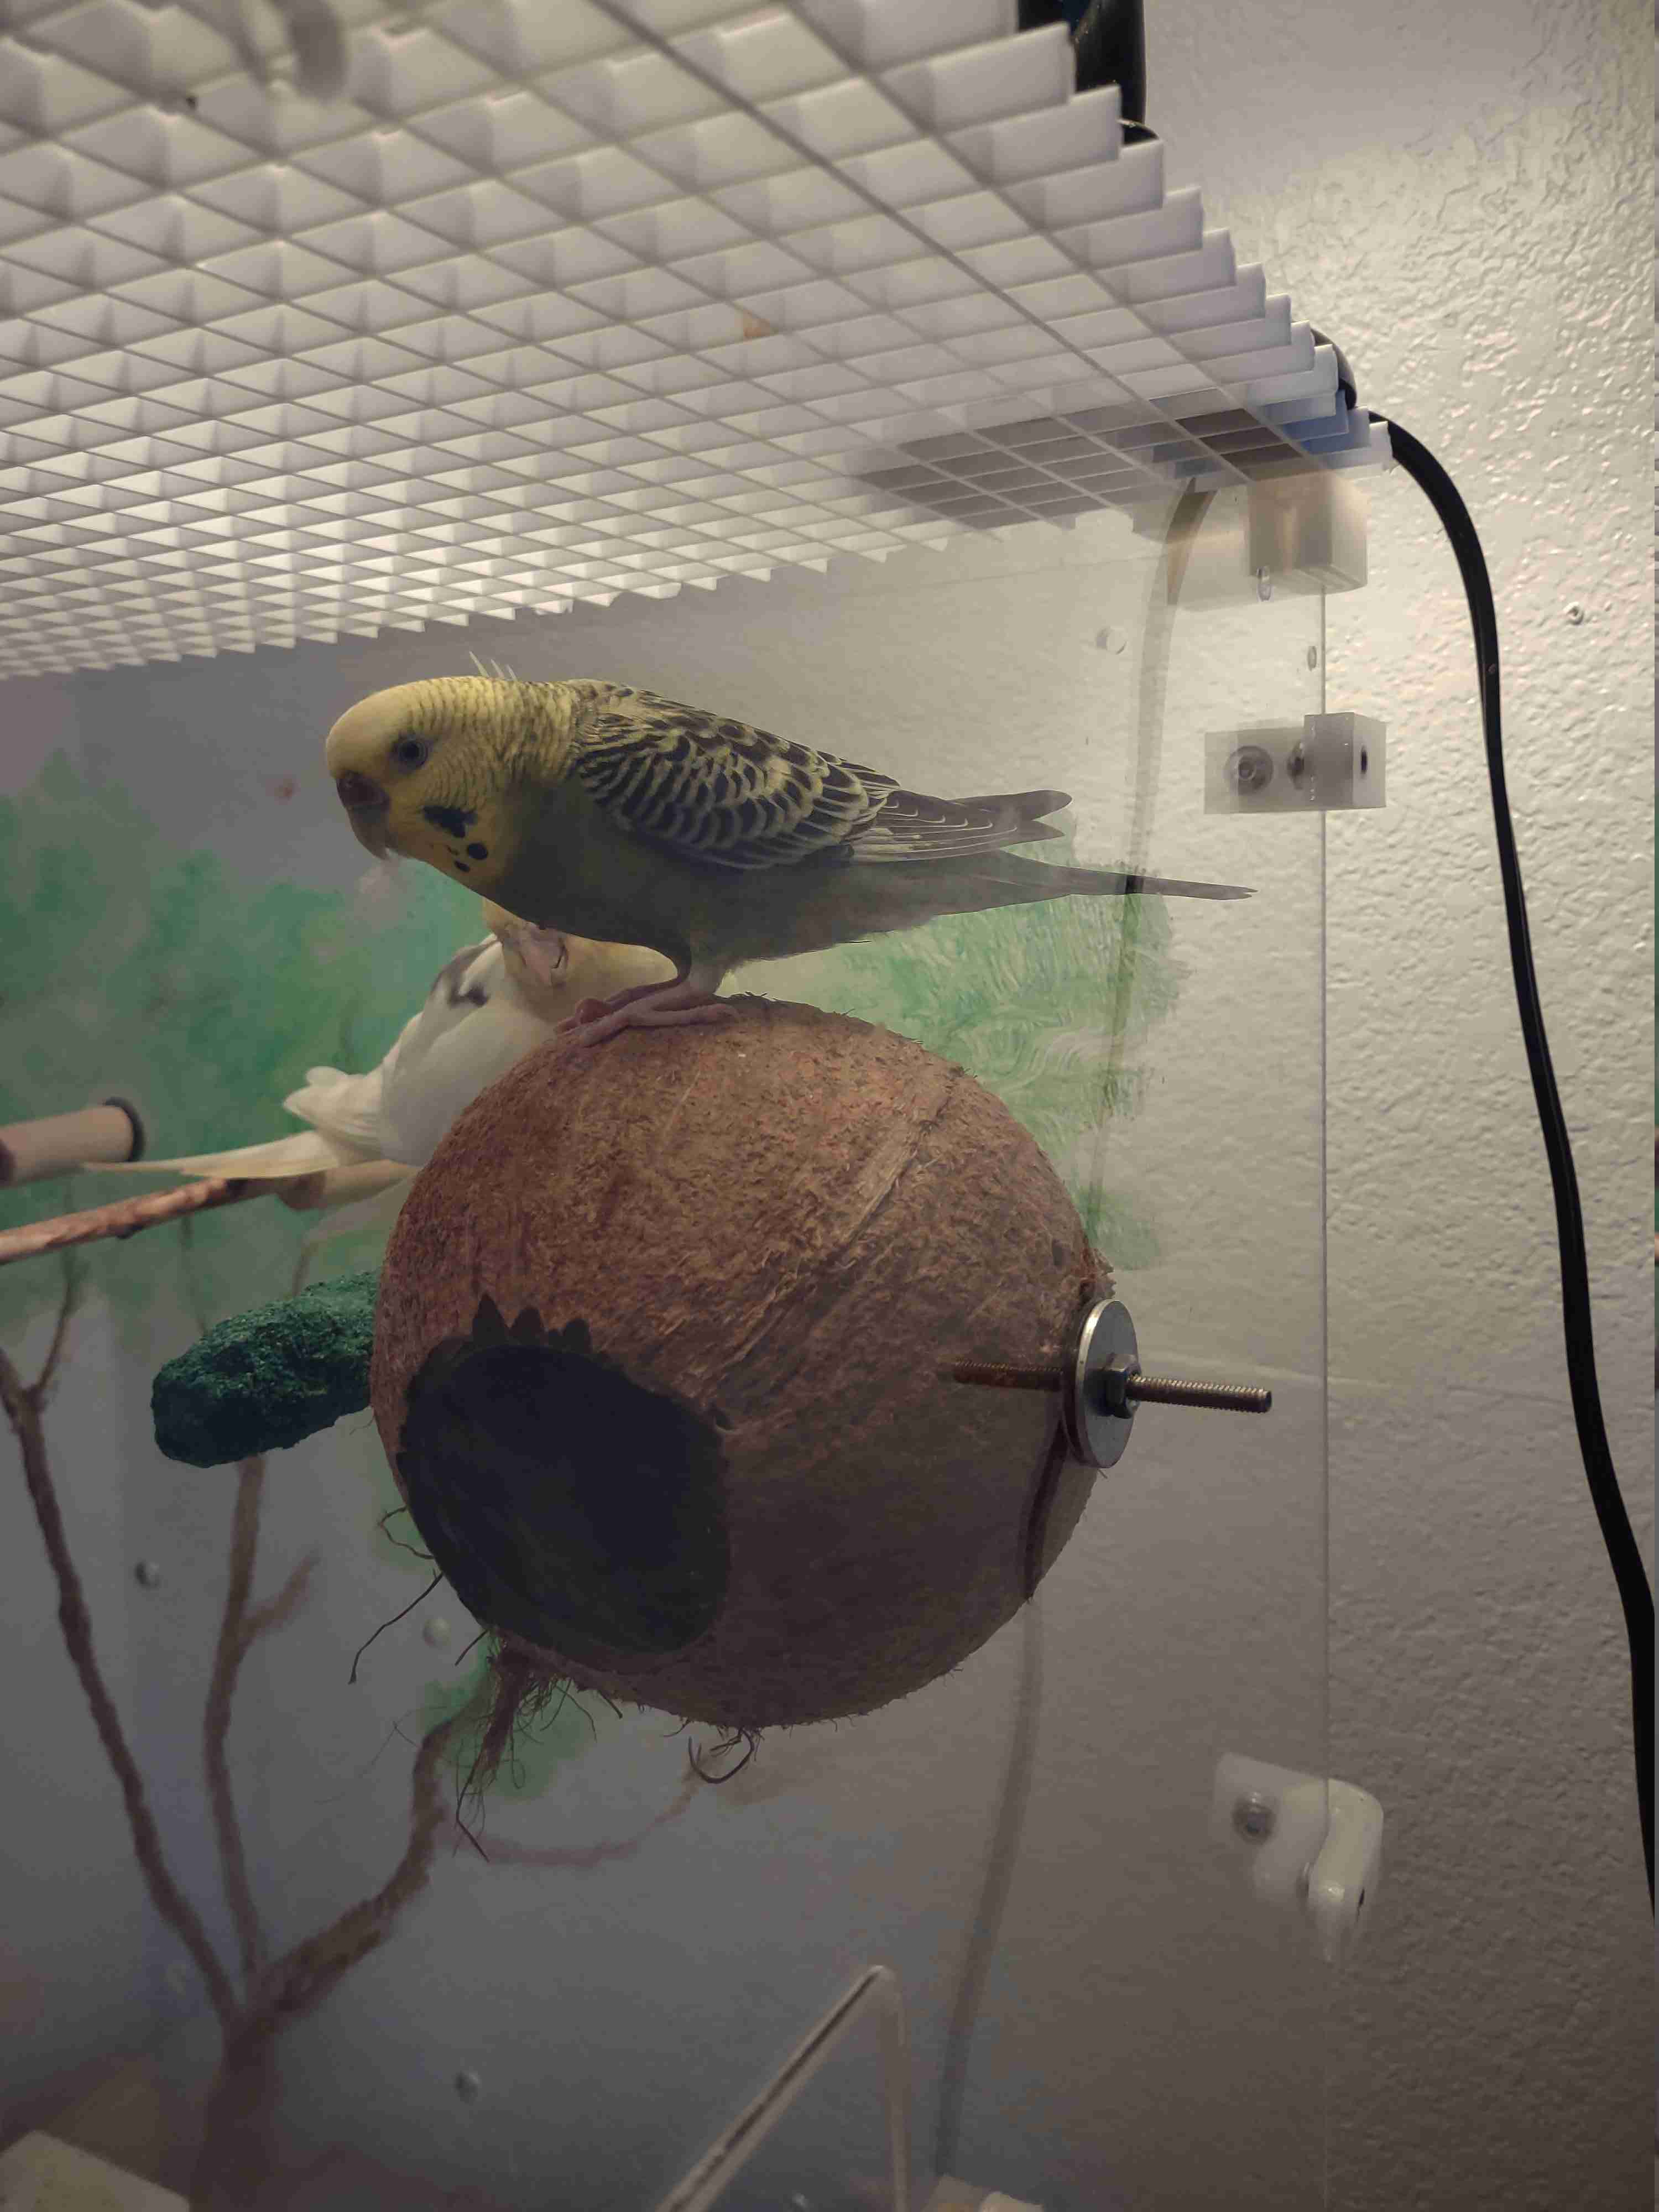
I sourced some coconuts from the produce section at my local Market Of Choice.
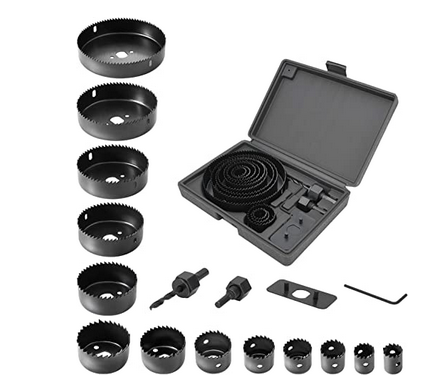
I used this style of drill bit to cut the large entry holes in the coconut.
Unfortunately, getting this far has maxed out my funds, and so the manufacturing of my fully complete design is on pause at this time.
What remains to be completed:
1. The base which will hold the floor grate and drawer.2. The floor grate.
3. The drawer.
4. The individual stands for each individual cage.

